Your scented candle has burned down, leaving behind pleasant emotions, as well as the candle container, a wick holder at the bottom, and a lid. Since all these components are biodegradable, it's time to give them a new life by using them to grow marigolds.
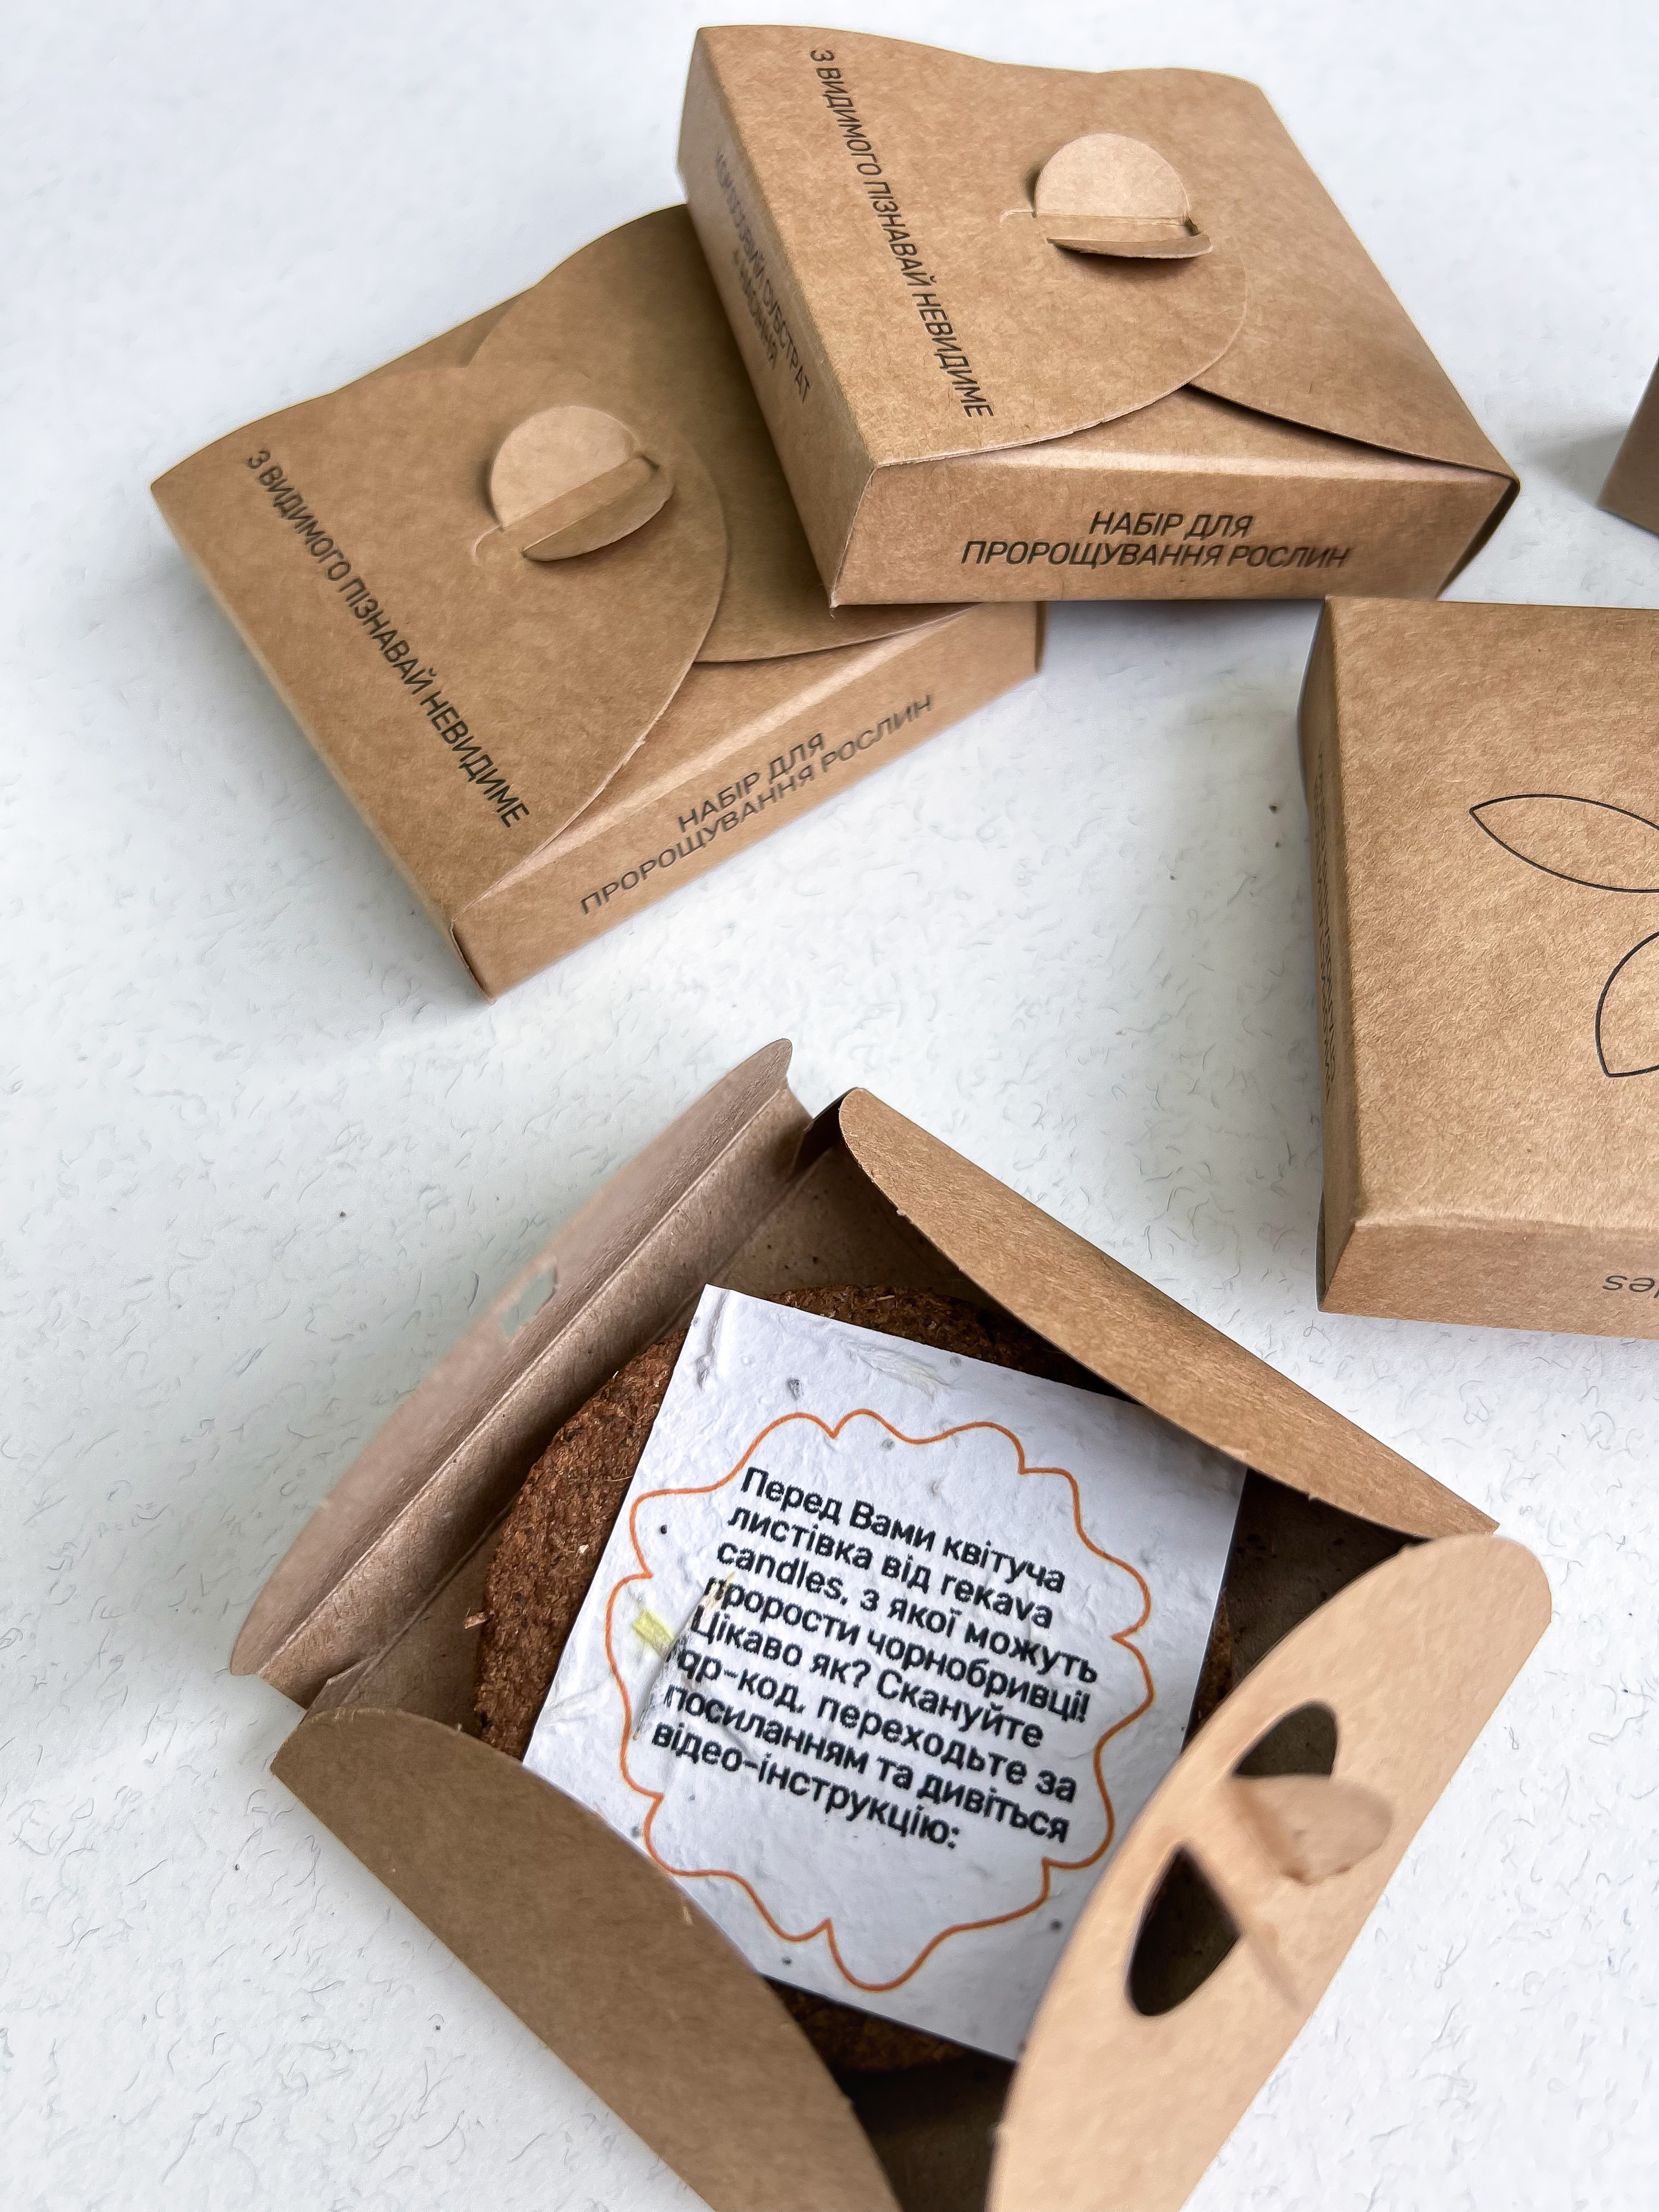
To do this, follow these simple steps:
1. Take your candle container and place the coconut substrate, which is included with each Rekava candle, inside it. For convenience, you can break the substrate into smaller pieces with your hands (alternatively, you can use regular plant soil).
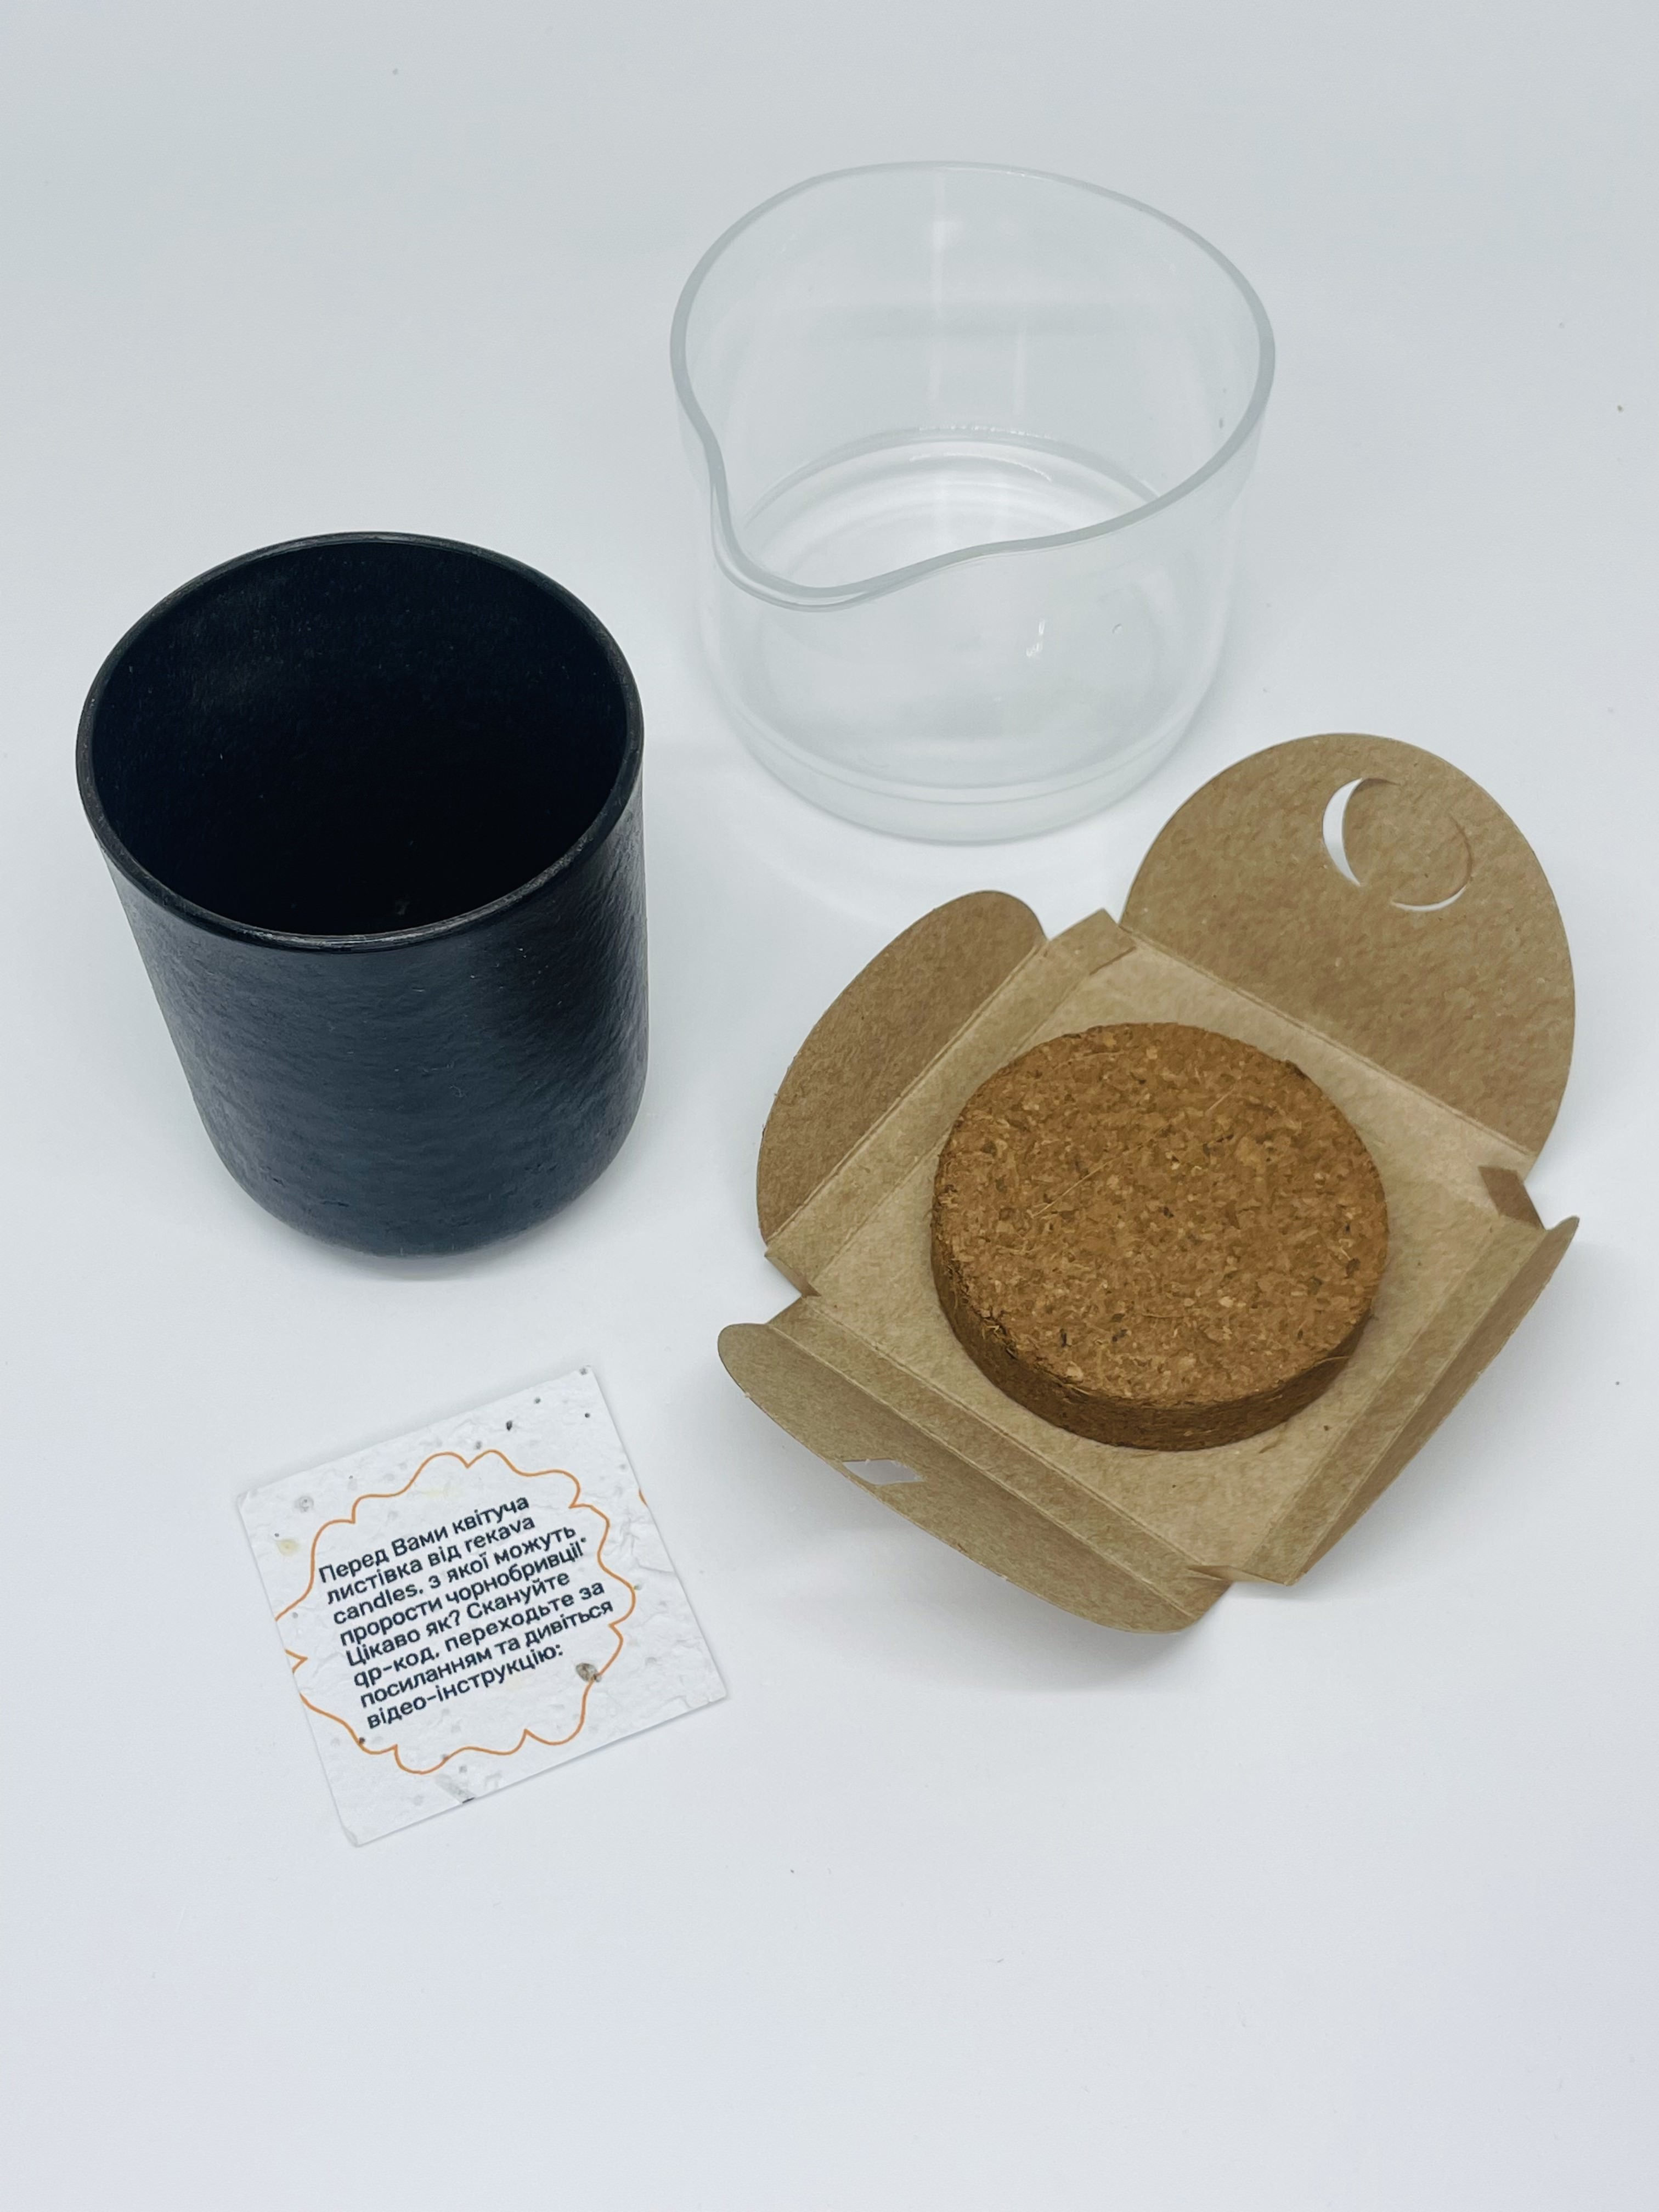
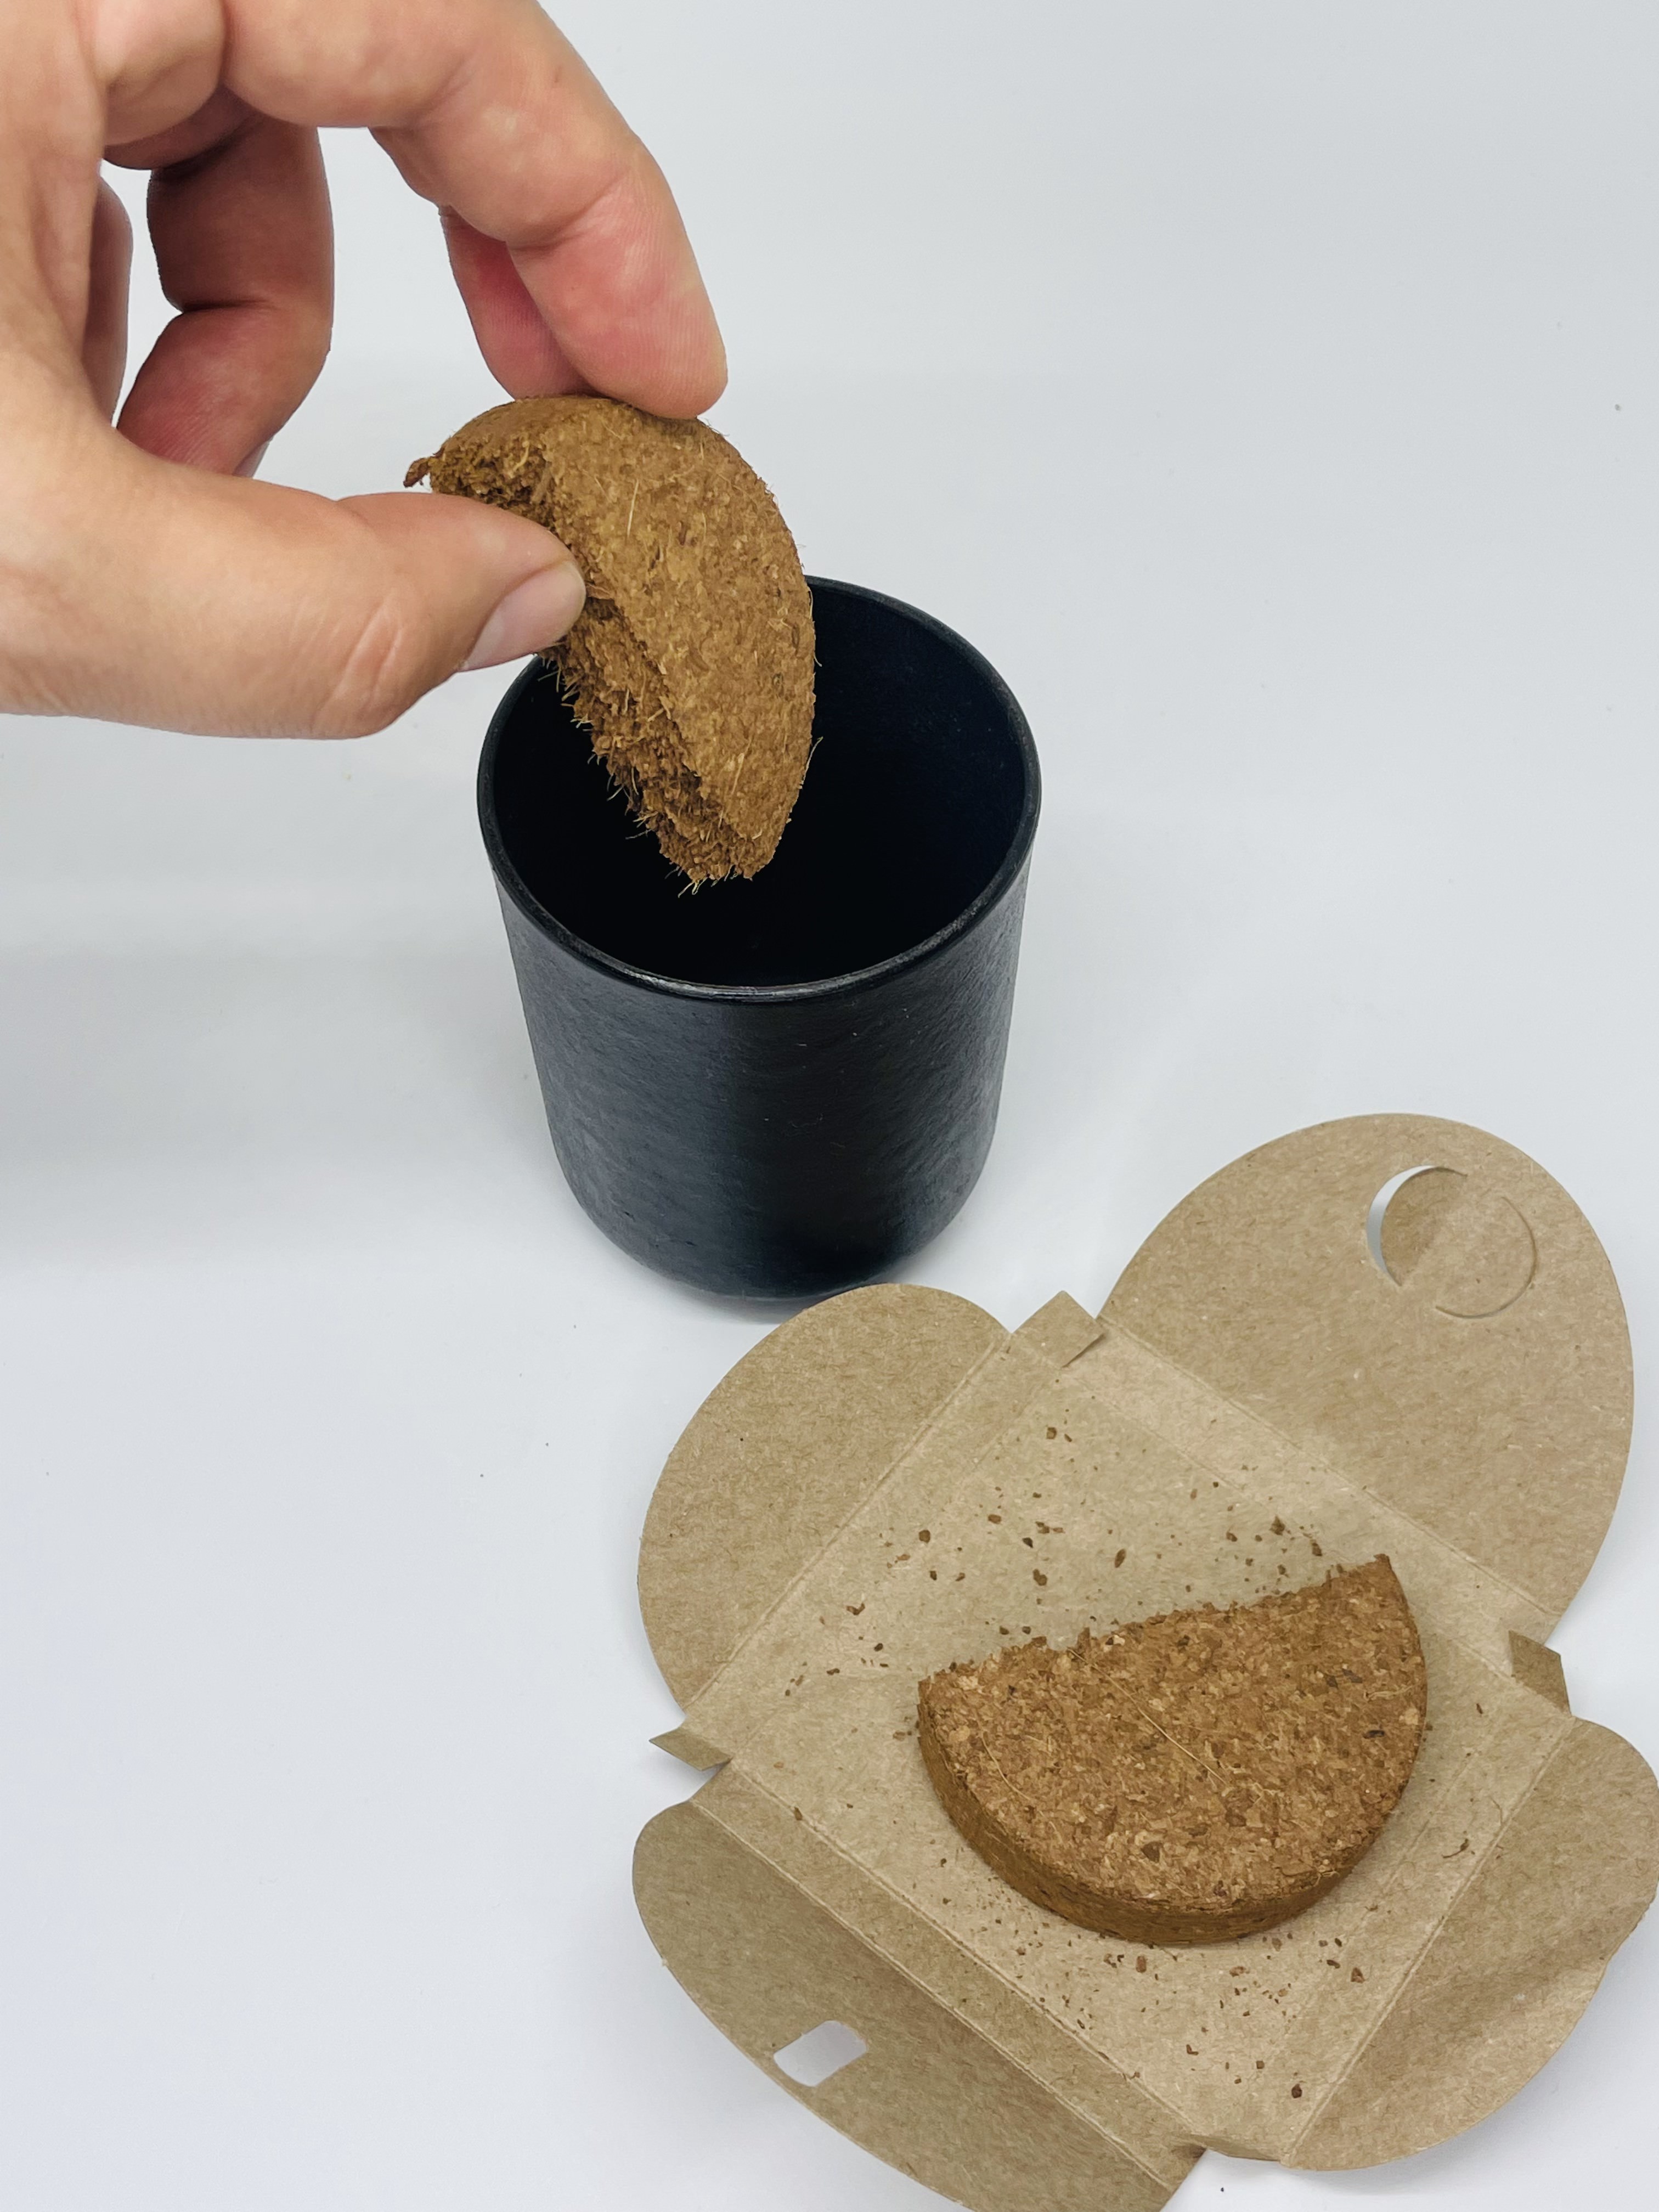
2. Water the coconut substrate with room temperature water (approximately 150 ml) and wait for up to 10 minutes. The moisture will cause the substrate to swell, break apart, and fill the entire candle container.

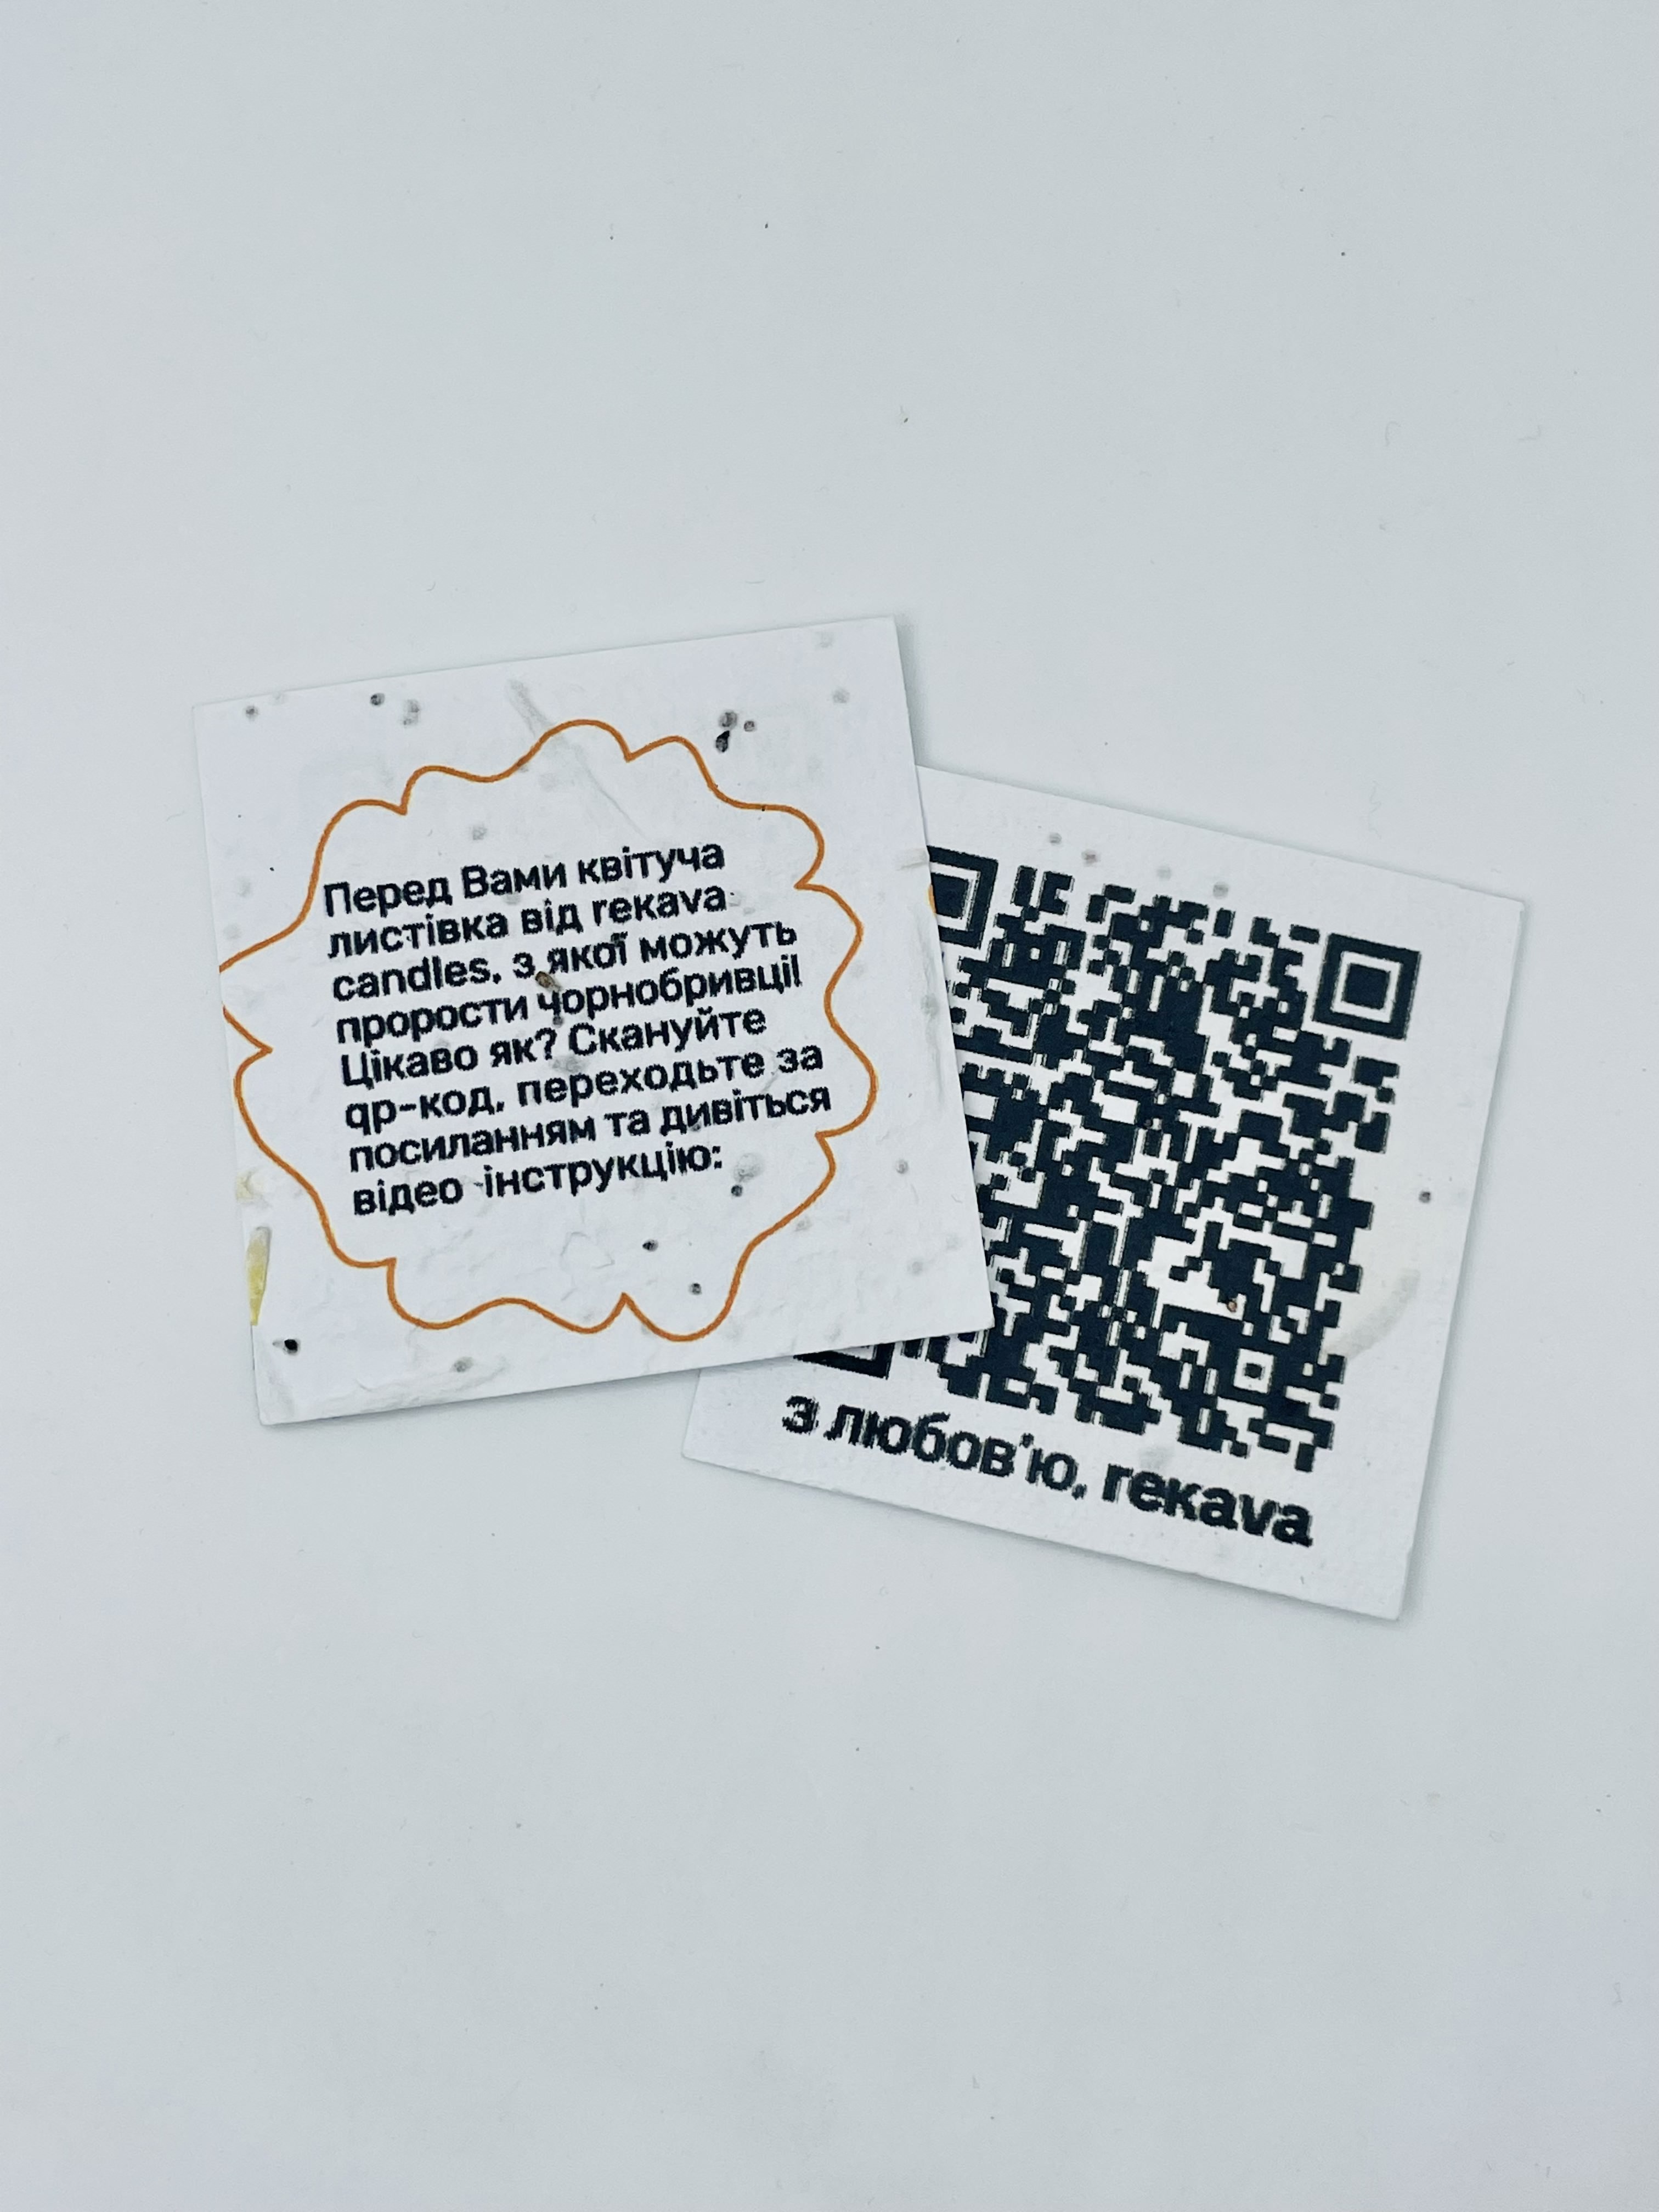
3. Take the blooming postcard included with each Rekava candle and fully immerse it into the coconut substrate/soil to a depth of up to 1 cm.
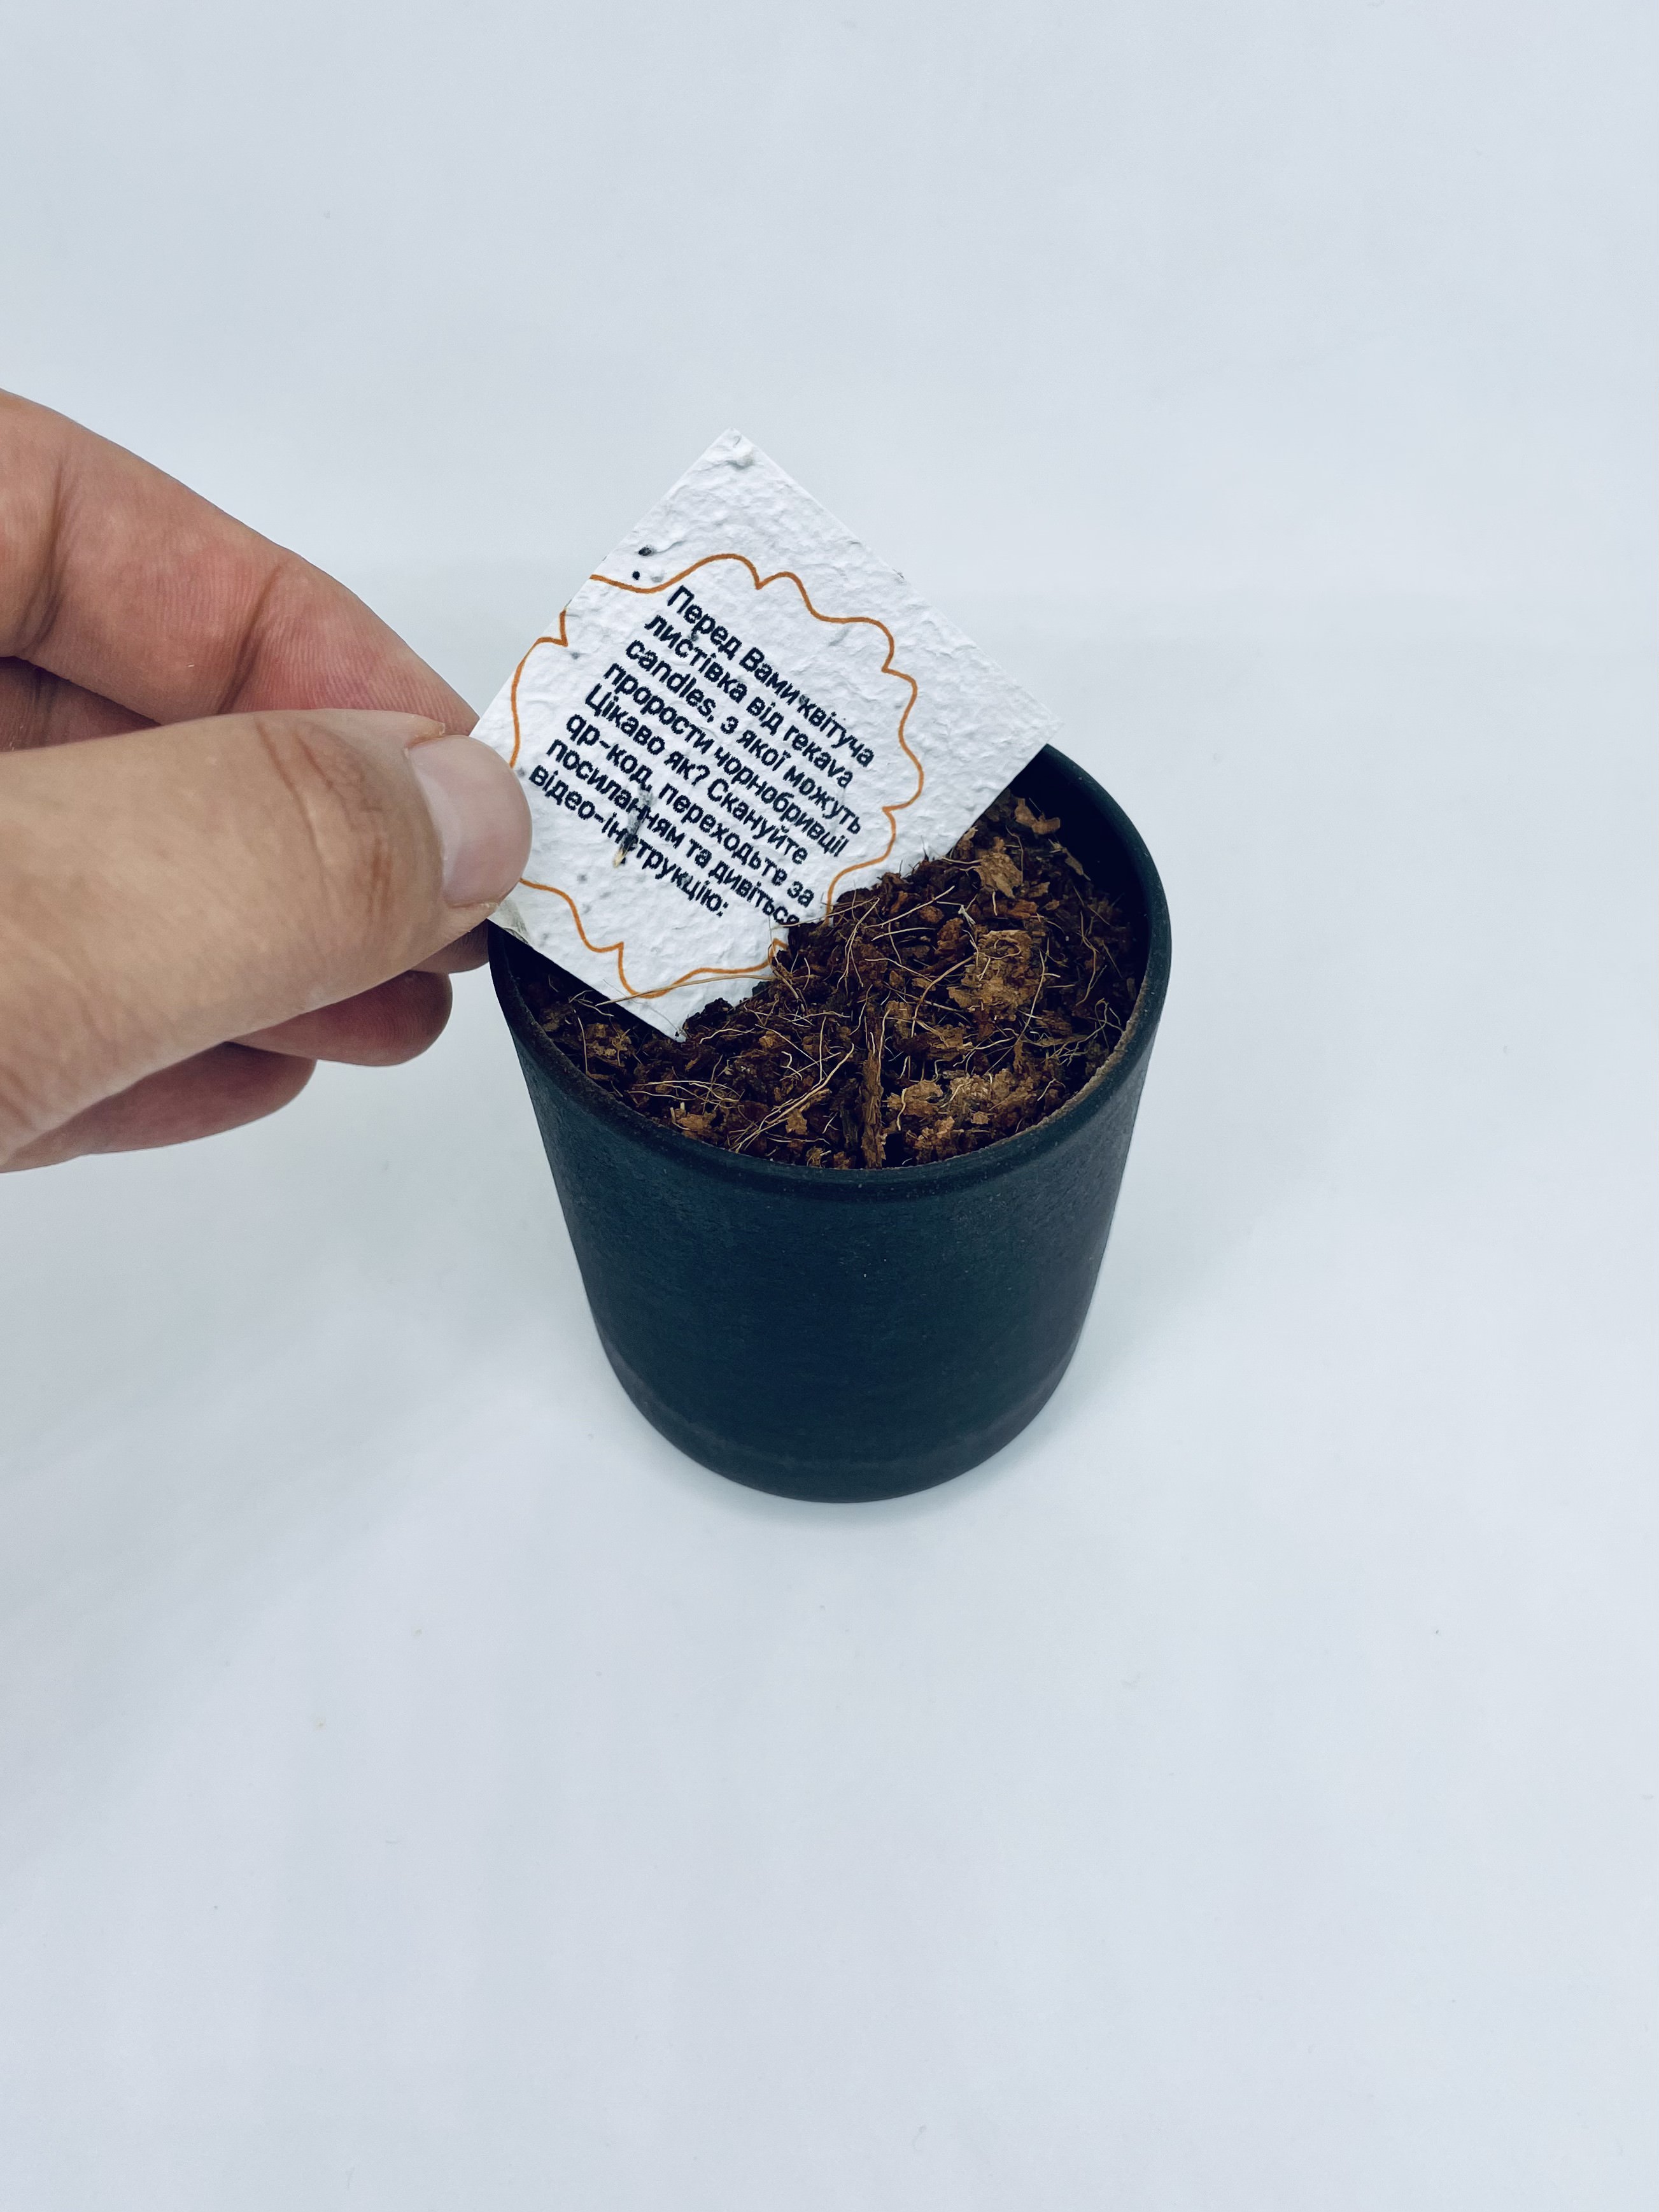
4. Water it well and keep the substrate/soil moist.
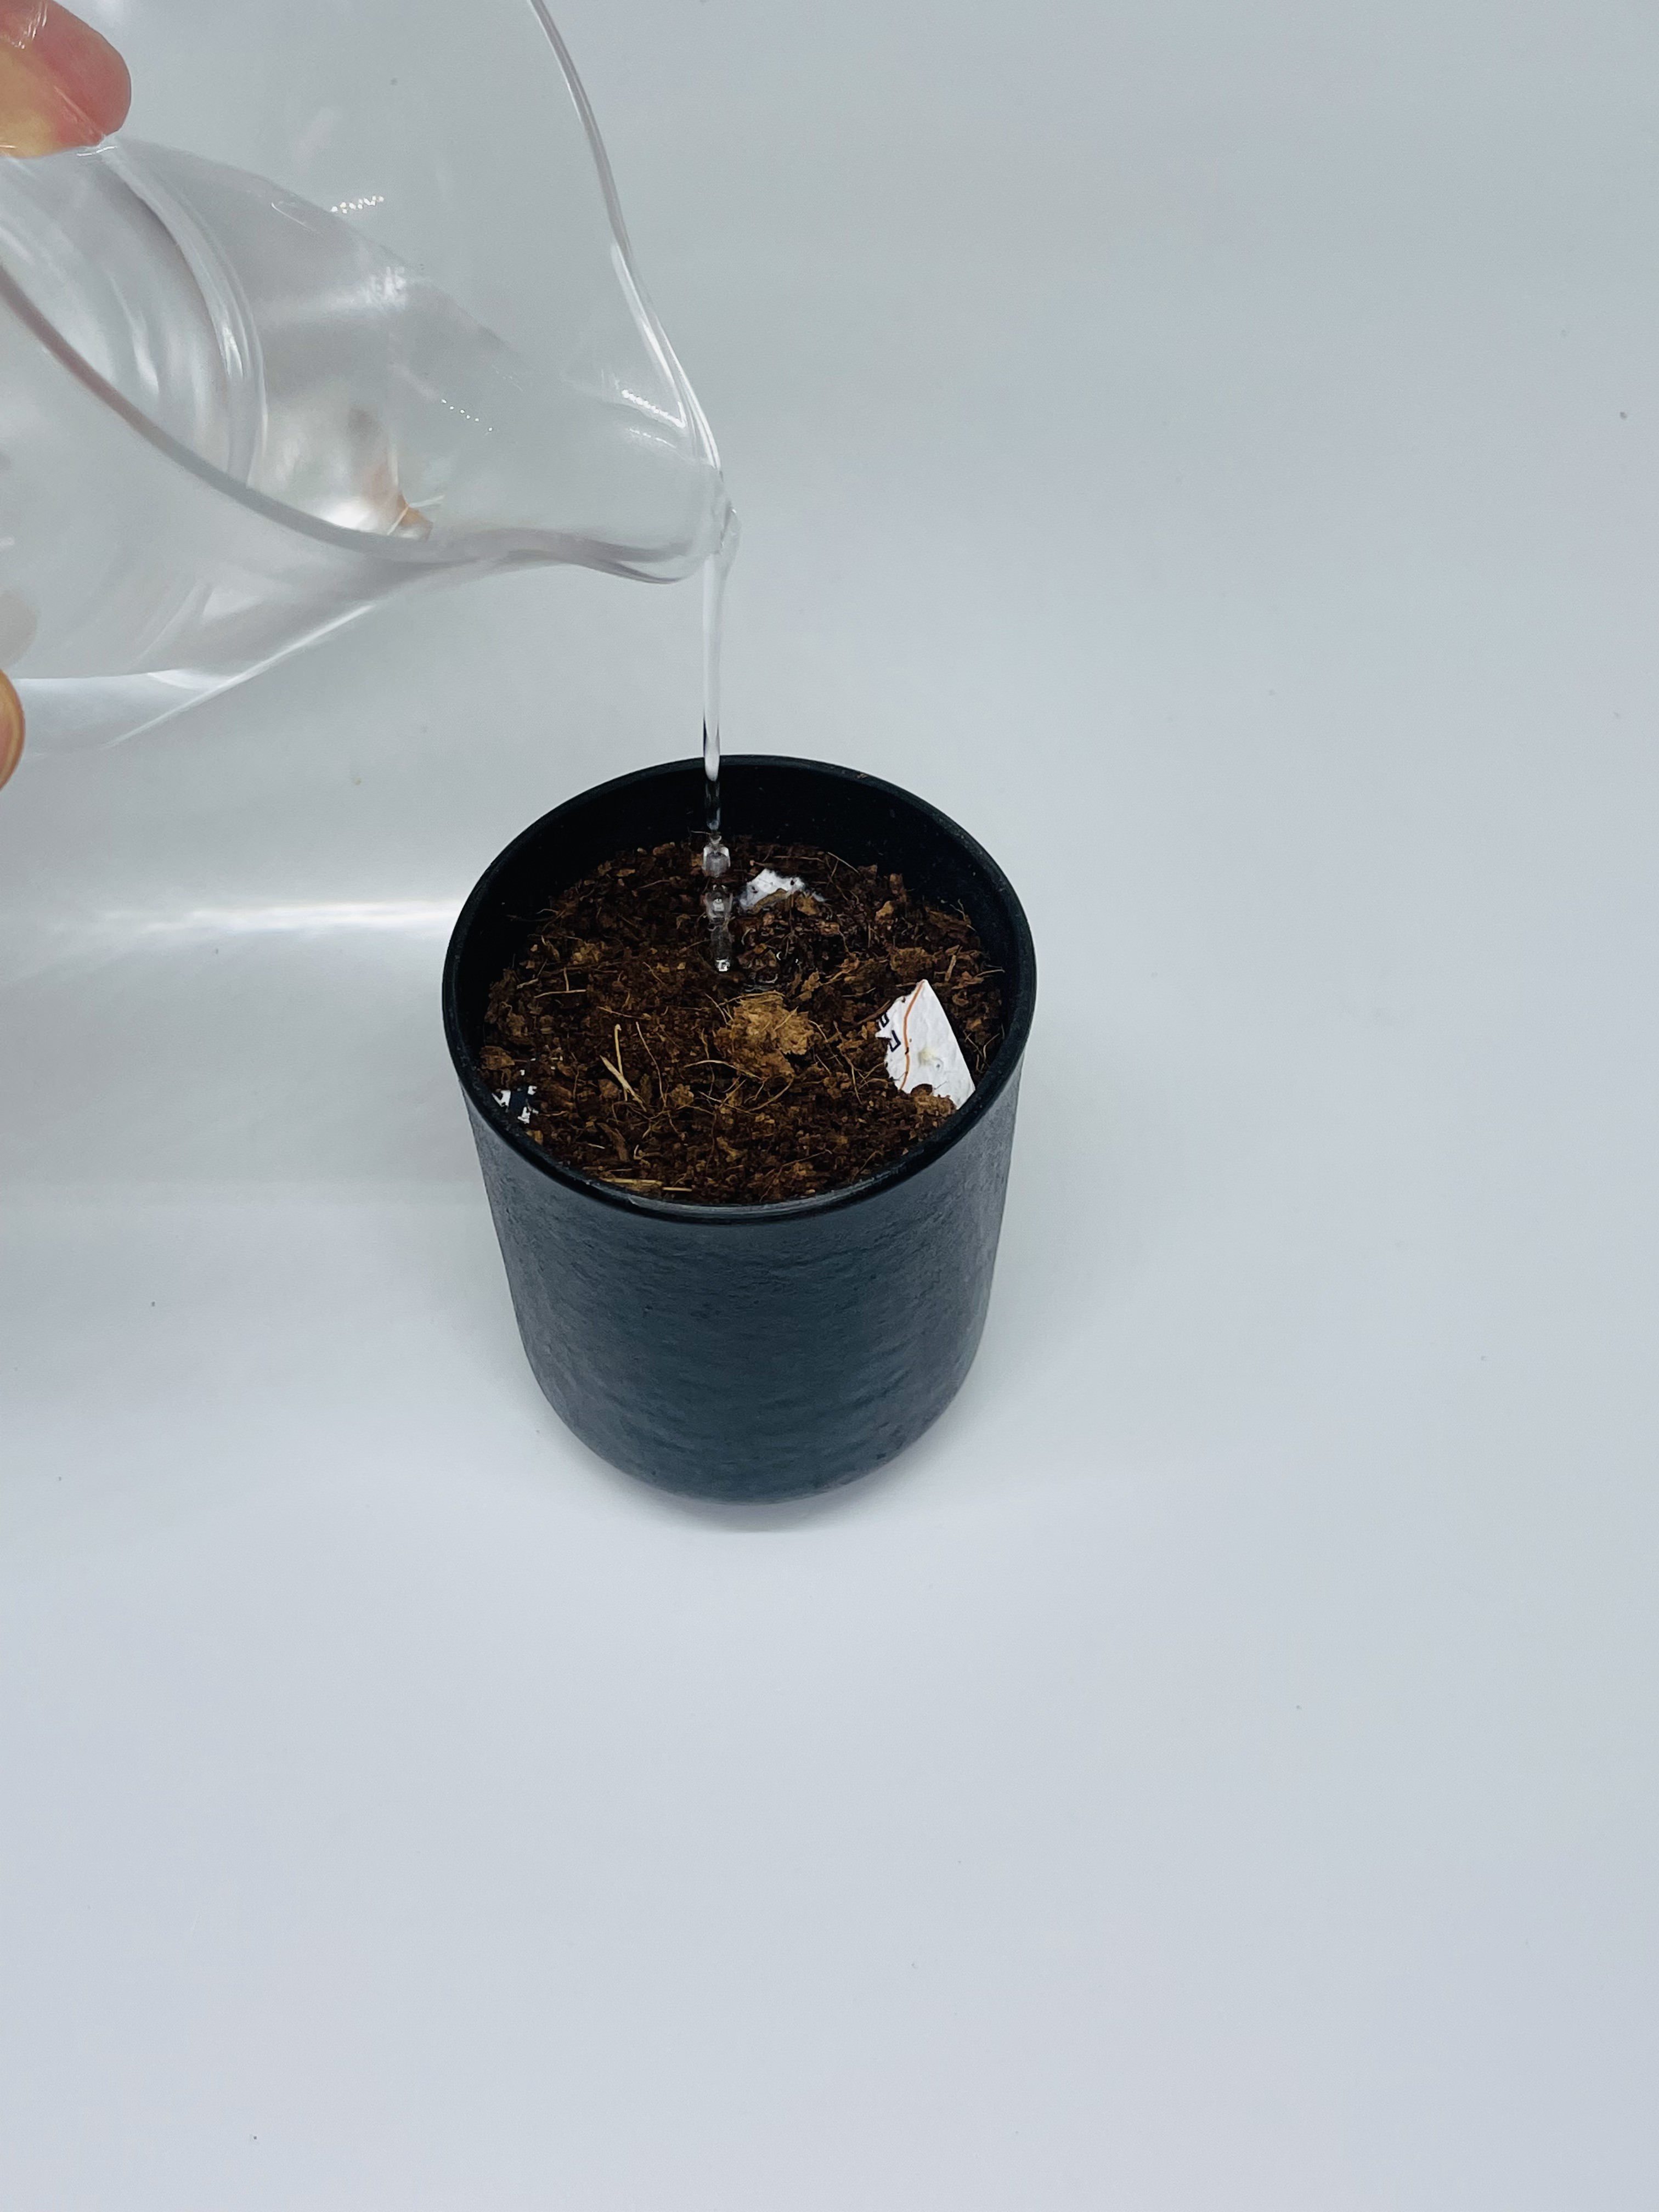
5. From this moment, our candle container has started serving as a biodegradable pot for seedlings. Every day, you will notice changes in its texture and visually observe the biodegradation process of the material.
6. To protect the surface where the container is placed, we recommend using the candle lid as a base for the container. To do this, place it with the Rekava candles logo facing down.
7. In 7-15 days, you will see marigold sprouts on the surface.
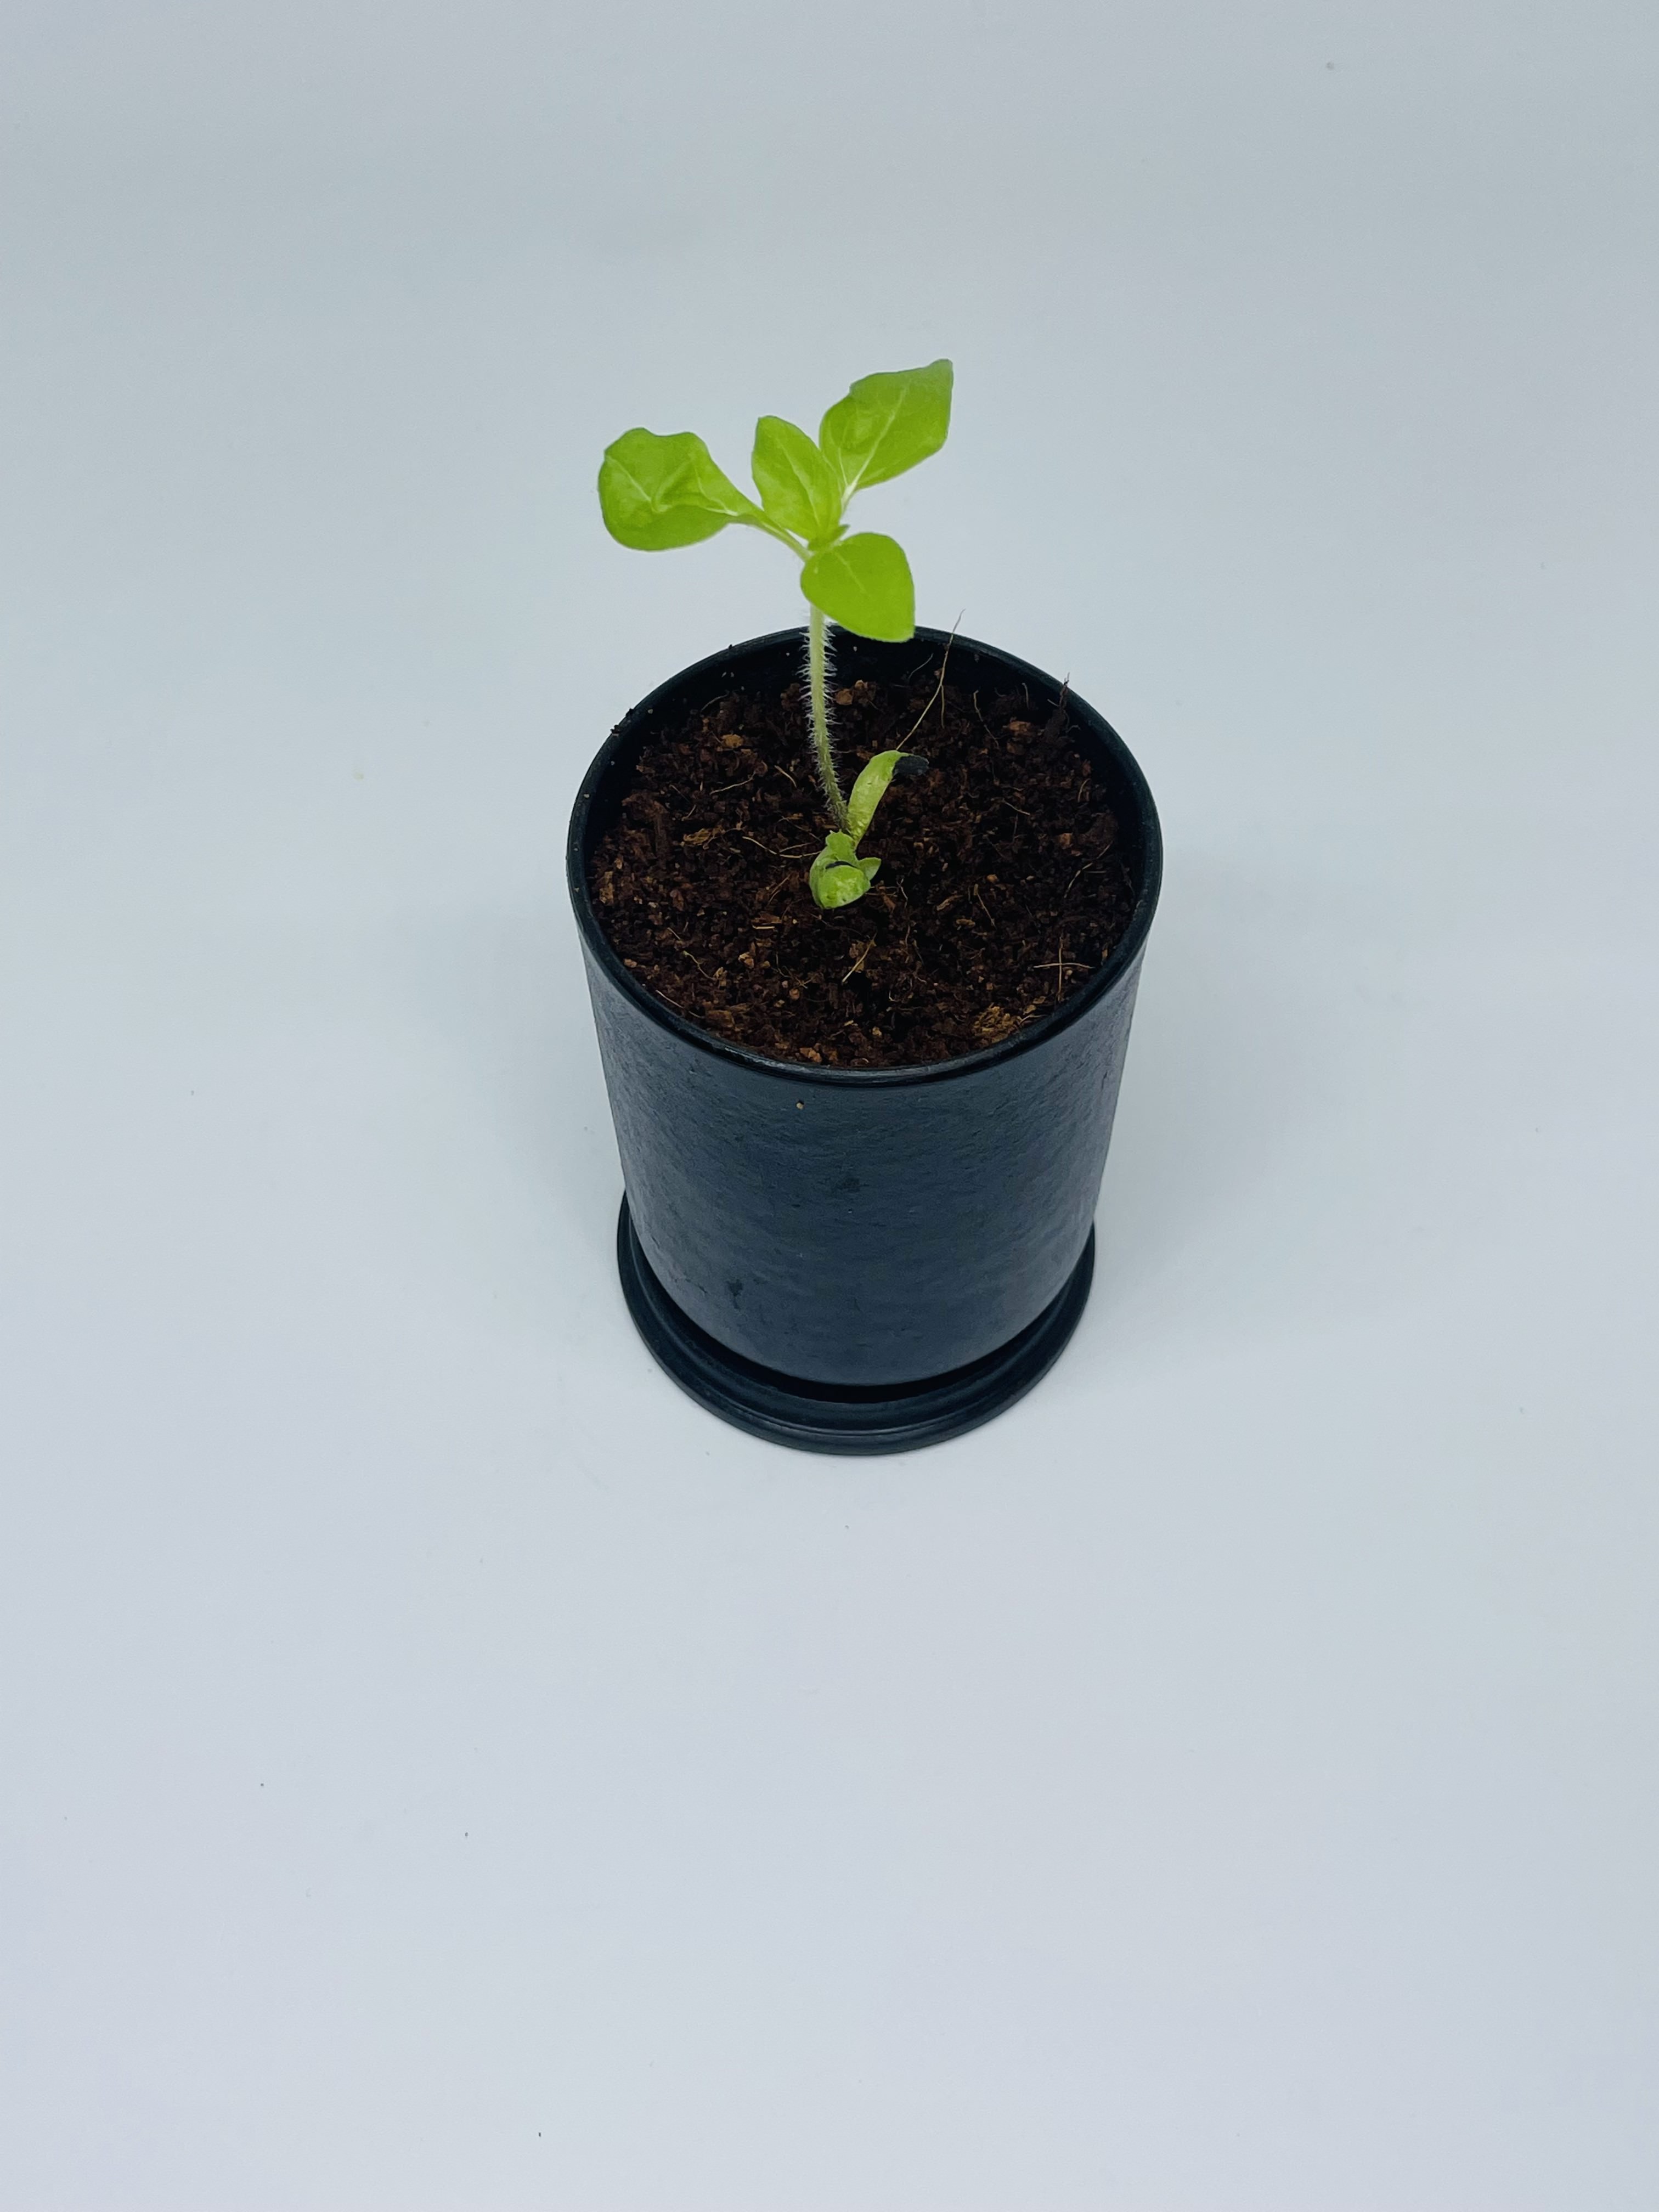
8. Take the container with the sprouted marigolds, along with the lid, and transplant them all together into a ceramic pot or directly into the open ground.

9. Water well and keep the soil moist.
10. Approximately 2.5 months later, nothing will remain of the candle container and lid except as fertilizer for your marigolds.
